Choice Cards


So here’s the thing.  Usually crafting is what I do to keep my sanity. But I do have a day job, and sometimes I make things for work.  

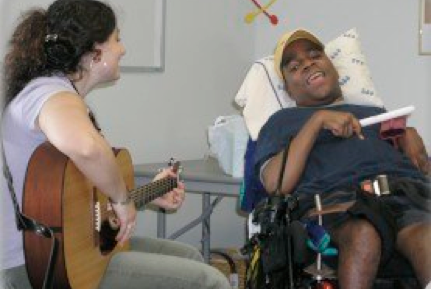
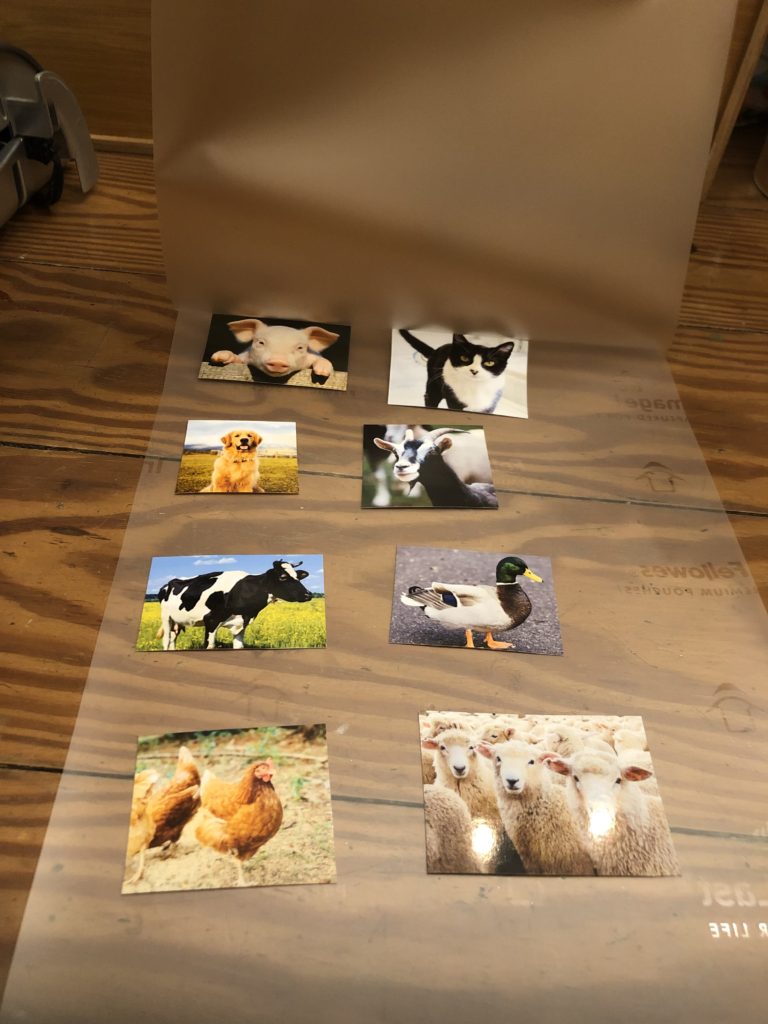
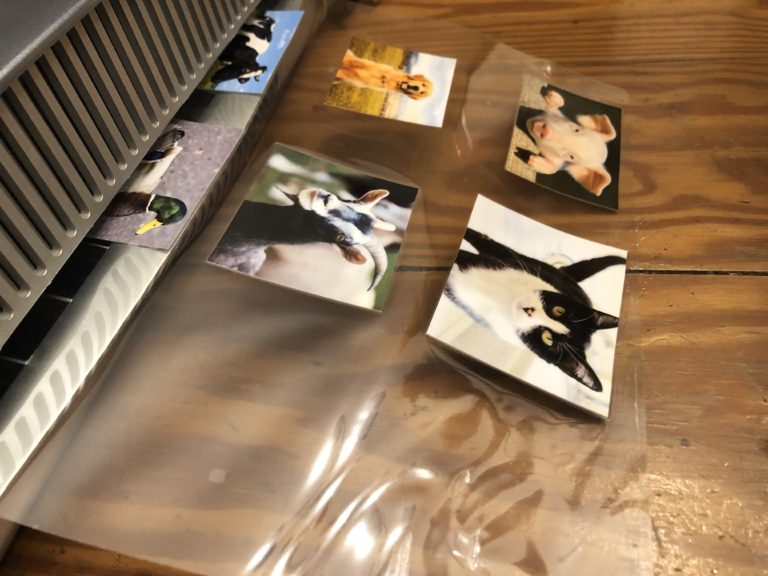
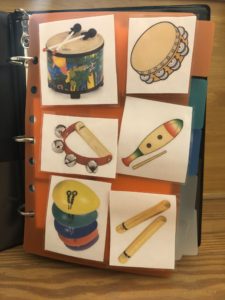
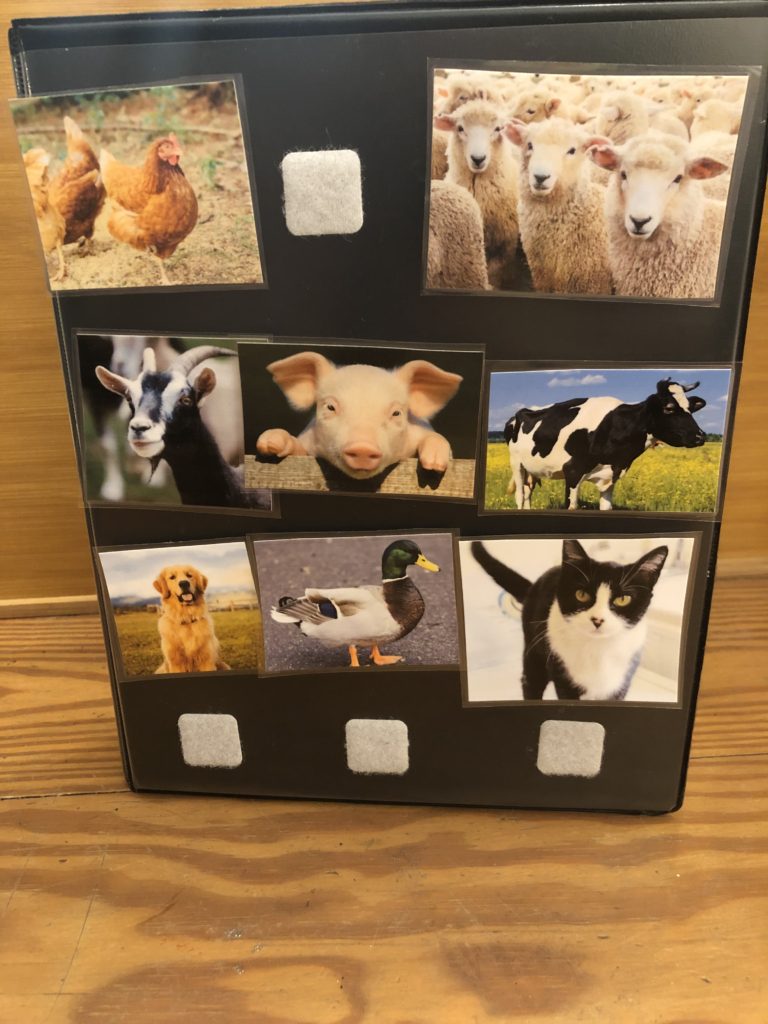
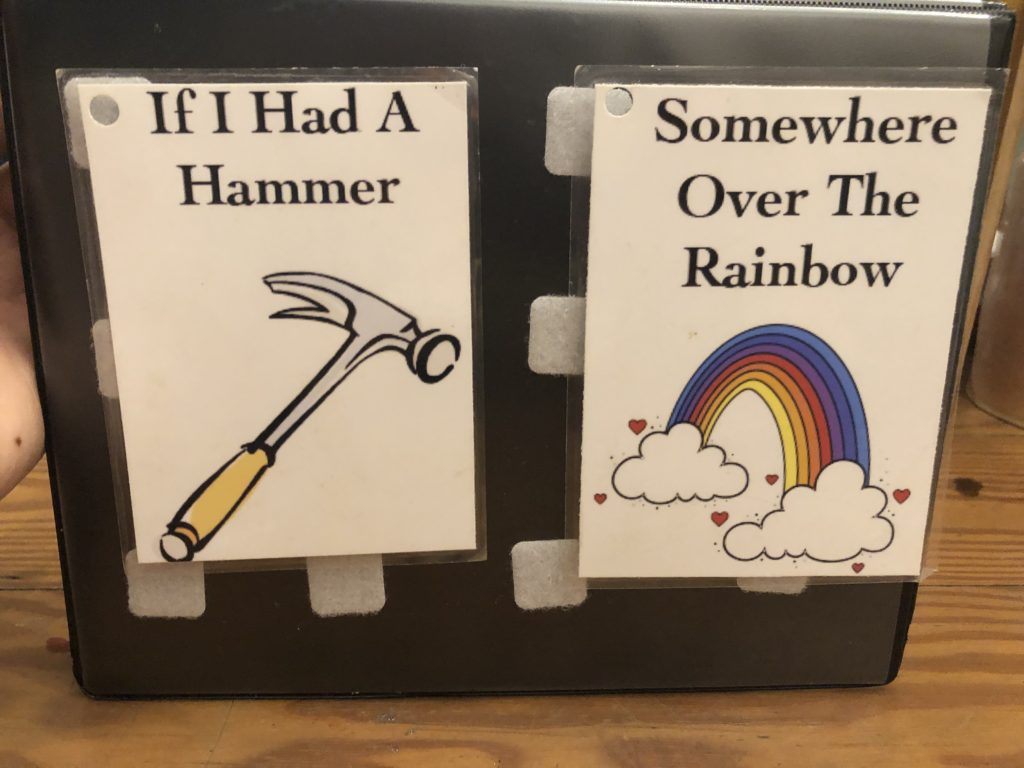
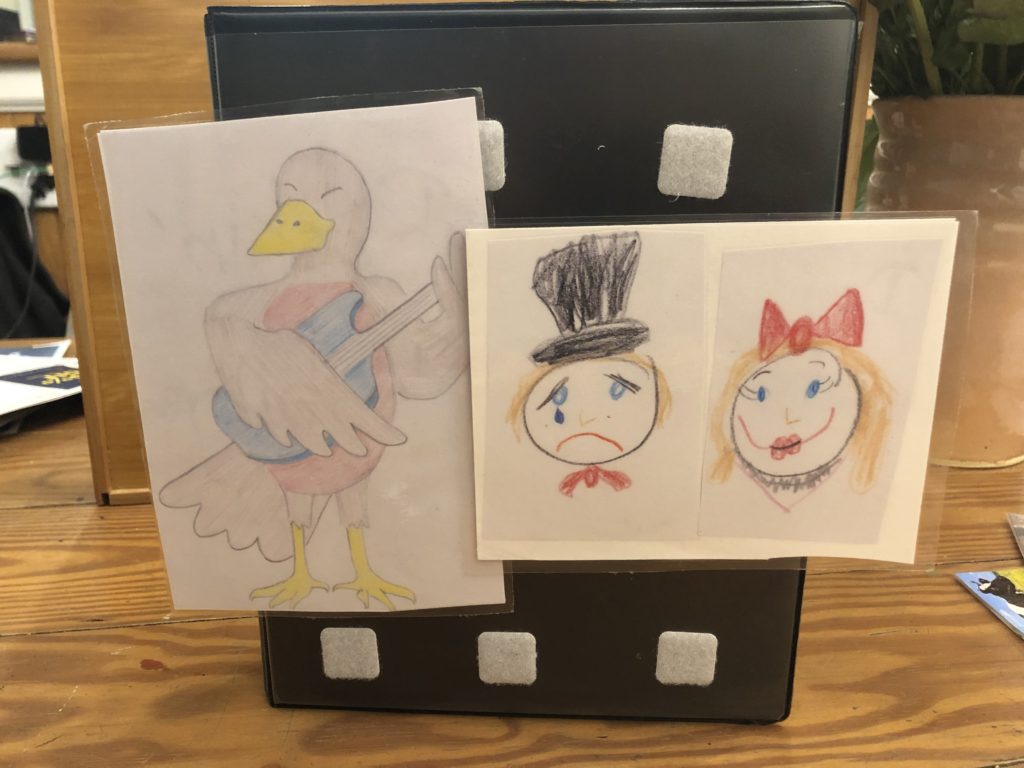
By day, I am a music therapist, and I work primarily with adults with developmental delays.  I have used visual aids for song choices for years, but they have mostly been rock and roll, (Elvis, Beatles, etc) but I have been working with more children lately and you know what?  My one verbal kiddo in the class shouldn’t be the only one who gets to choose an animal when we sing Old Macdonald!

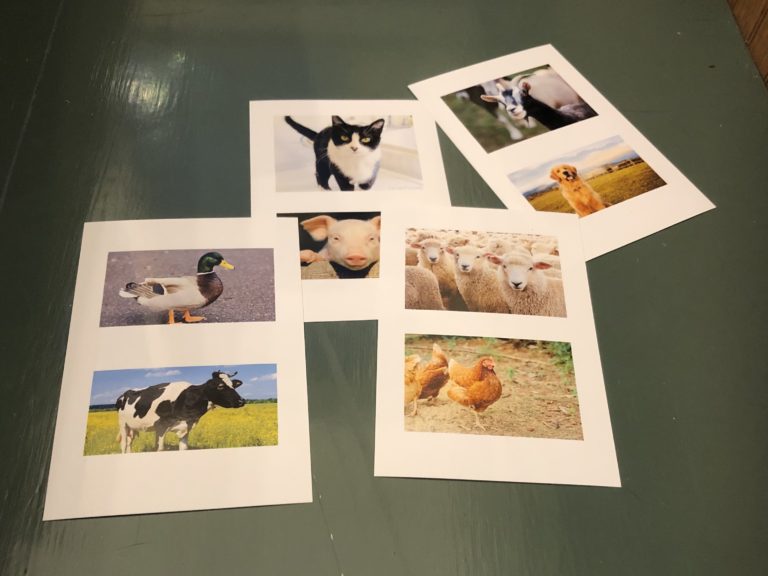
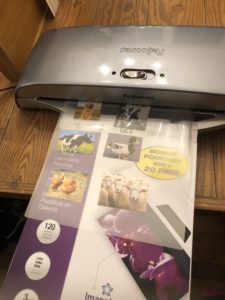
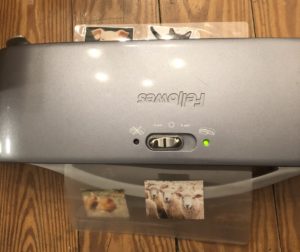
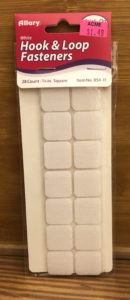
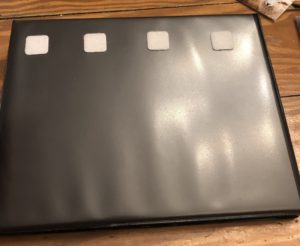
And so the time had come to make some new cards to use with this new population I’m working with.

This is an old picture of me working with one of my favorite humans of all time, James.  He loved when we sang Love Shack, but one time called it Radio Shack and we laughed so hard that thats what he called it for the rest of our time together. *Photo used with permission.

Here is what you will need for this project:

  • Pictures of what you want to offer as choices. (I used free clip art from the internet for this project, but have also used photocopies and hand drawn pictures in the past)
  • Scissors or a paper slicer.
  • A laminating machine.  Mine is an older one made by Fellowes, button can find something similar (Linked here) relatively inexpensively.  My dream machine however is this one (Linked Here)
  • Laminating pouches.  You want to make sure to get the thermal laminating pouches to use with a hot laminator, like the ones made by Fellowes here.
  • Velcro sticky tabs for mounting the pics onto a surface.  (Brand doesn’t matter, I got these at our local surplus store for under $2.)
  • Some kind of surface to mount the pictures on.  You can get a basic dry erase board or a binder at the dollar store.  In this case I’m using a mini 3 ring binder.

** IMPORTANT NOTE! **

I always forget to turn on the laminator to warm up before getting started.  So I’ll put this right at the beginning!  Make sure its heating up so that you don’t get frustrated waiting as I usually do!

The next thing you will want to do is settle on some pictures that you want to use to convey your choices.  In this case, animals that may or may not be on a farm, and print them out.

You can add anything you want to your farm!  I’ve had some insist that there are no cats on farms, and some who say a farm is not complete without a goat.

Next up: Cut out your pictures and lay them out on the laminating sheet.  You will want to space them out enough that you will have room to cut them out.  Something to be aware of is that while there is a little bit of static that will hold the pics in place, I have run into trouble because when I go to move the page to laminate it the pictures move around and I have to reset it.  Below on the left is an example of how it jumbled up in the transfer, so I used the cardboard packaging that the laminating sheets came in to hold the page flat as I feed it into the machine.

Once your machine gives you the green light you can go ahead and feed the page through.  I personally find this step hypnotic, as does my 10 year old who will start looking for things to laminate as soon as she hears the machine buzz that its ready.  This is one case where patience is super important.  Never pull the sheet out while its still laminating, and feed it slowly to avoid it jamming!

Once they have cooled down a bit, cut out the pictures!  (Just be sure not to cut too close to the photo itself or it can break the seal made by the laminating sheets.)

Next up, grab your velcro stickers and pop the hook side onto the back of the cards.  That’s the side that tends to stick to everything, so it makes the card more versatile.  It can stick to felt or anything generally fuzzy.  In this case though, I’ll just be using the matching fuzzy side of the fastener.

You can use any surface to stick the velcro pieces to.  I went with a 3 ring binder, but also have a few of the dollar store white boards with velcro dots on them. The inside of this binder also has some other cards that I had previously laminated for making instrument choices.

And so here we have the final result!  Now anyone in the class can pick an animal.  I’m sure that as soon as I use it I will find out that there are animals on their farm that I have never heard of.  And so it goes…


Below are a few examples of other ways I use my choice board.  On the left is some clip art, and on the right are pictures that a friend drew (Rockin’ Robin) and one that my kiddo drew (Don’t Worry Be Happy)  If only I could draw I would have handmade cards for days!! 😉  Get creative and have fun.

Thank you so much for taking the time to read through this page!  If you buy anything from the links that are included in this entry a small portion will go to helping keep this website up and running.  Which helps keep me sane, and helps you make awesome stuff. <3  


Please follow and like us:

Leave comment

Your email address will not be published. Required fields are marked with *.