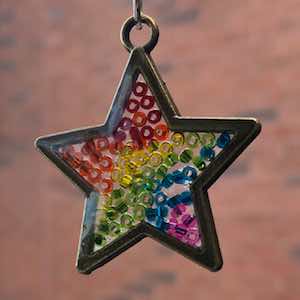
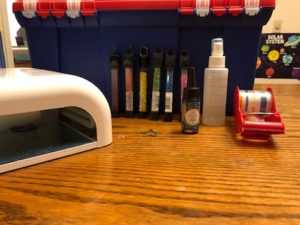
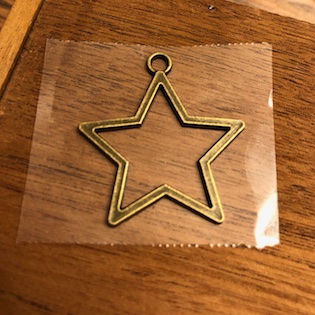
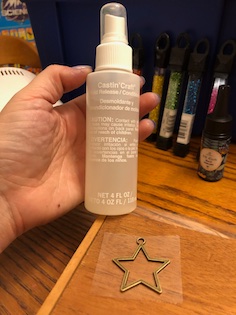
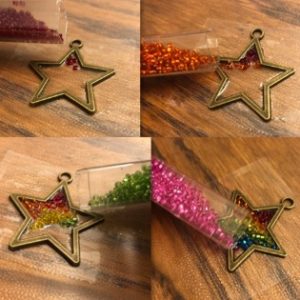
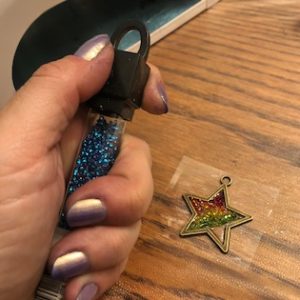
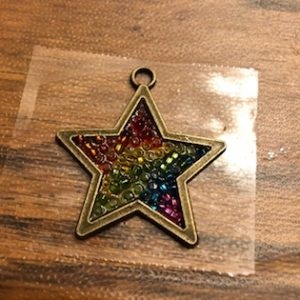
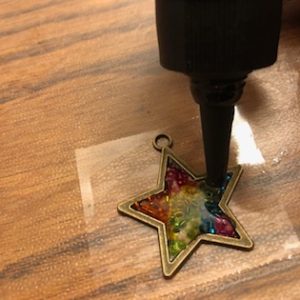
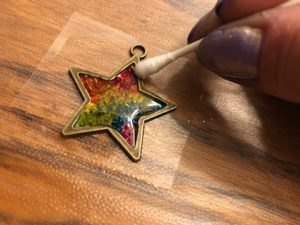
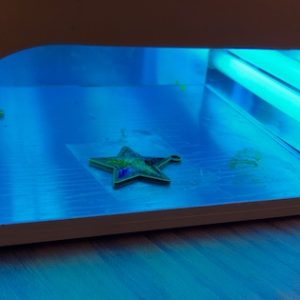
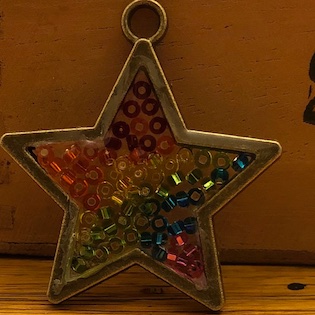
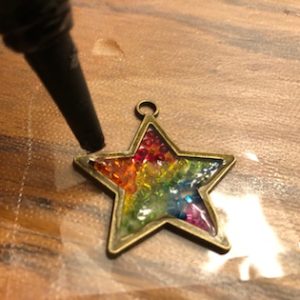
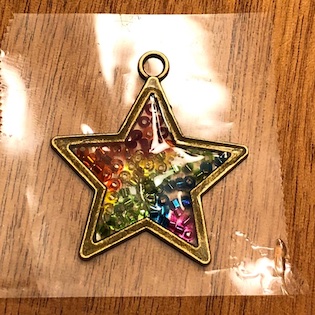
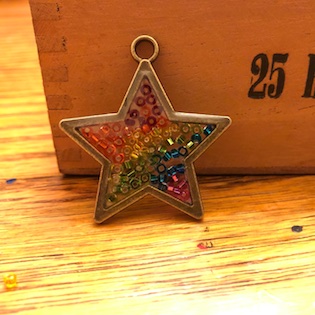
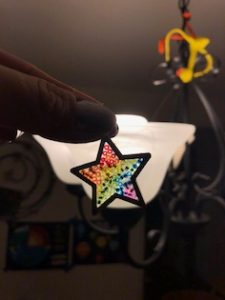
Make a Rainbow Resin Star!

Note: I’ve gone with UV resin for this tutorial. More often than not I use 2 part casting resin which cures in 24 hours. But I am impatient so here we are.  (Stay tuned for a follow up with 2 part resin!)

                  Step 1: Assemble the supplies:

  • UV resin

  • UV lamp (this one is a second hand manicure lamp. Works great!)

  • Star bezel (Or any shape, I got mine on wish but you can use any open bezel, like these funky ones here)

  • Mold release (Casting’ Craft makes some. PS, olive oil also works)

  • Beads (Or sequins, glitter, whatever you want to use to add some excitement to your star!)

  • Packing tape

*Here is a list of the things I realized you should have on hand over the course of the tutorial!

– Disposable gloves

– Toothpicks, (or something pokey and disposable)

– Cotton Swabs


Step 2: Stick the packing tape to the back of the star.  (I know this should seem obvious, but man did it take me way longer than it should have to figure out what to put on this thing to keep the resin in!)


If your bezel is the same on the back and the front it really doesn’t matter which side the tape goes on.  However, if your bezel has a side that is obviously the back you want to put the tape on the back so that when it domes a bit you get that on the front!

Step 3: Spray that bad boy with some kind of lubricant. If you have a Michael’s 40% off coupon go get some mould release. (Or if you are lucky enough to have an A.C. Moore their app always has a 55% off “thank you app users” coupon, but our only A.C. Moore closed so I am cranky about it.). Meanwhile cooking spray will also work.

Step 4: Put down a thin layer of resin. (Move it around with a toothpick if you are having trouble getting it into the corners. Also you should wear gloves. I’m not wearing gloves because I play fast and loose with my skin, but really you should.)

Step 5: Beads! Apply liberally, in any order. Again toothpicks are helpful in moving them where you want them. Maybe toothpicks should have been on the supply list. And gloves. Did I already say you should be wearing gloves? You should be wearing gloves.

Step 5a: Break the tube of yellow beads and spend some time collecting them and stressing out about what to put them in until you realize you have packing tape and this is not an actual crisis.

Step 5b: Spend as much time fighting with the cap of the blue beads as you spent working with all of the other beads.

Step 6: Add another thin layer of resin on top of the beads and clean up anything that spills over with a q-tip. Also, you should probably have some q-tips on hand. Or rather cotton swabs. Go generic! Save money!

Step 7: Pop that bad boy in the UV light of your choice, and for the love of Pete don’t look at it. (Usually it goes for about 90 seconds, but different light sources take longer or shorter depending on wattage. I generally just go with the longest auto setting on the lamp, which I believe might be 2 minutes.)

Step 8: Take out your fantastic piece, take off the tape and realize there are some gaps and it’s not perfect and gah it’s getting more tape, more resin and going back in…

Step 9: Take off that tape and show off the awesome star you made! Hold it up to the light and check out how the light shines right through


Step 10: Notice how nicely the duck hanging from the chandelier sets off the coloring in the star, and marvel at the things that become routine when you have small kids.

Thank you so much for taking the time to read through this page!  If you buy anything from the links that are included in this entry a small portion will go to helping keep this website up and running.  Which helps keep me sane, and helps you make awesome stuff. <3  

Please follow and like us:

Leave comment

Your email address will not be published. Required fields are marked with *.